Admin Account Management
To access Admin Accounts
- Click on orange 'Settings' button on the menu to the left
- Click on the orange 'Admin Accounts' icon 4th from the right
From here State admins can search for admins by name, email address. The Choose Member Type dropdown menu allows you to select the admin type (All types, State Admins, District Admins, County Admins) to help filter the search. You also have the option to sort by different options (Name, Email, County, Account Type), default is Name.

To add an admin account (State, District, County) click the green '+ACCOUNT' button

Enter in the following information for the admin:
- First Name
- Last Name
- Email Address
- Contact Phone Number
If desired, you can upload an image or avatar for the admin.
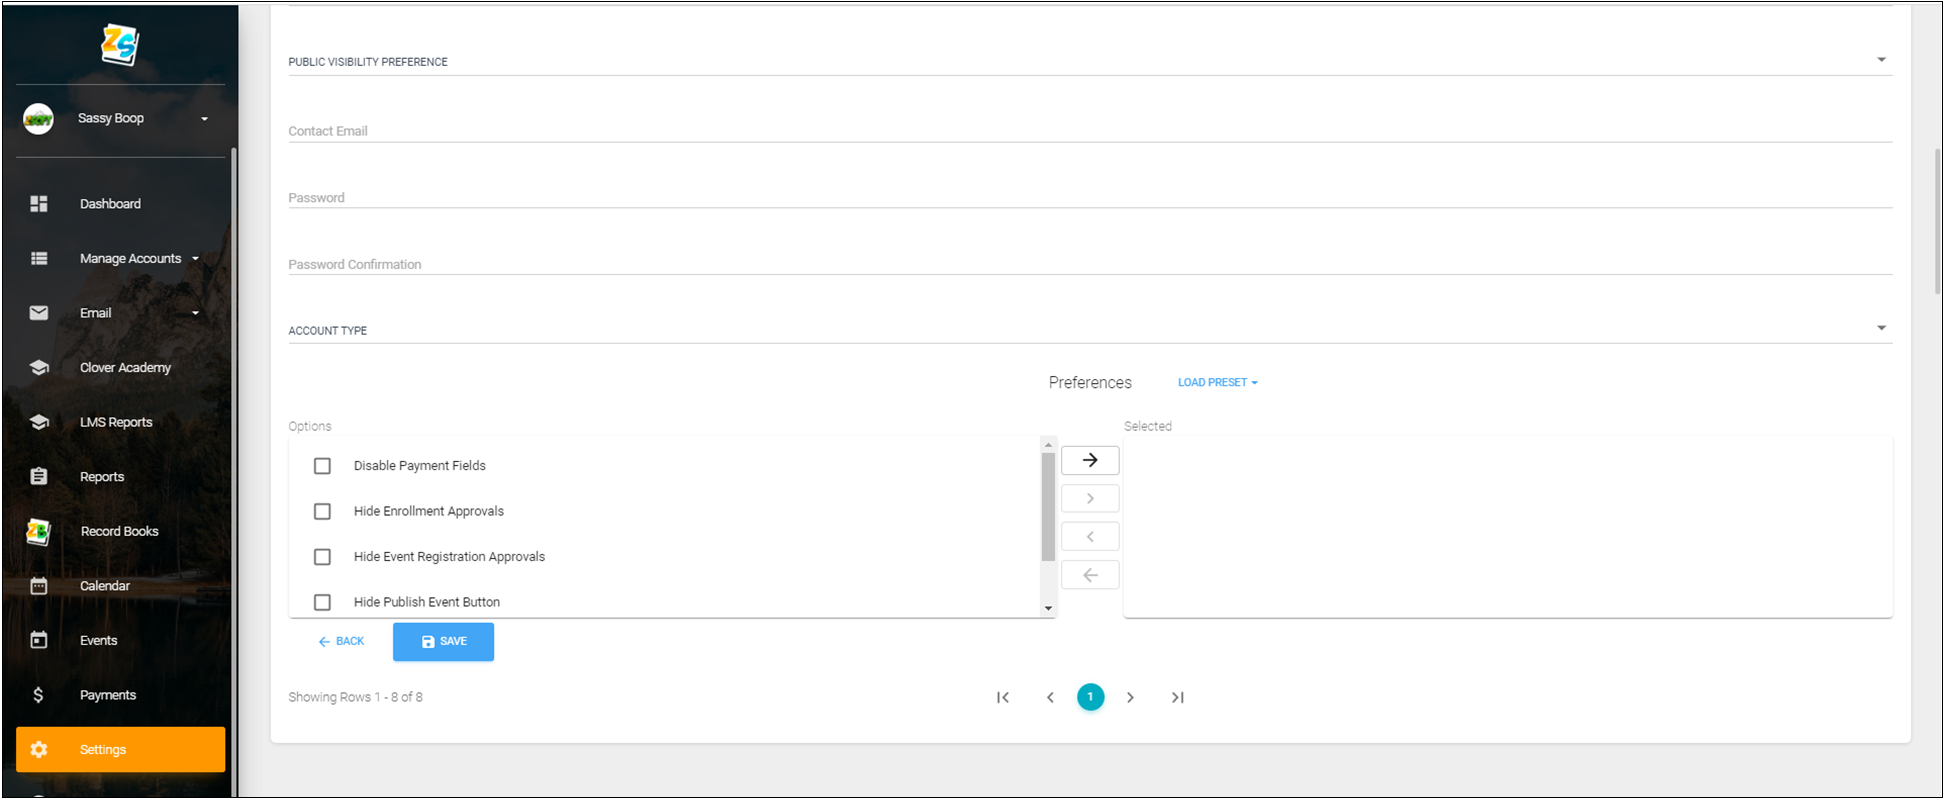
- From the dropdown menu select public visibility preference. Contact information appears for the admin you can choose one of the following from the dropdown menu:
- Email & Phone
- Email Only
- Phone Only
- Enter in the Admin's email address
- Create a temporary password and confirm password. Upon this initial password being sent to the admin they will be prompted to reset their password.
- Account Type - from the dropdown menu select State, District, or County
In some situations it may be necessary to hide or disable elements including the following:
- Disable Payment Fields
- Hide Enrollment Approvals
- Hide Event Registration Approvals
- Hide Publish Event Button
- Hide State Settings
To activate/enable any/all of the above simply check the options and select the '>' character (second in list) to move those options over.
- Click the blue 'SAVE' button. Once this record is saved the system will send an email to the admin, their account is active at that point.
Created with the Personal Edition of HelpNDoc: Revolutionize Your Documentation Output with HelpNDoc's Stunning User Interface