Creating a ZMail Template
This tipsheet is for County, District and State Admins
Templates can be created to help save time, and also ensure that your emails are branded and contain the necessary content/information (Who, What, When, Where, Why, How and Primary Contact)
- Login to your ZSuite admin account
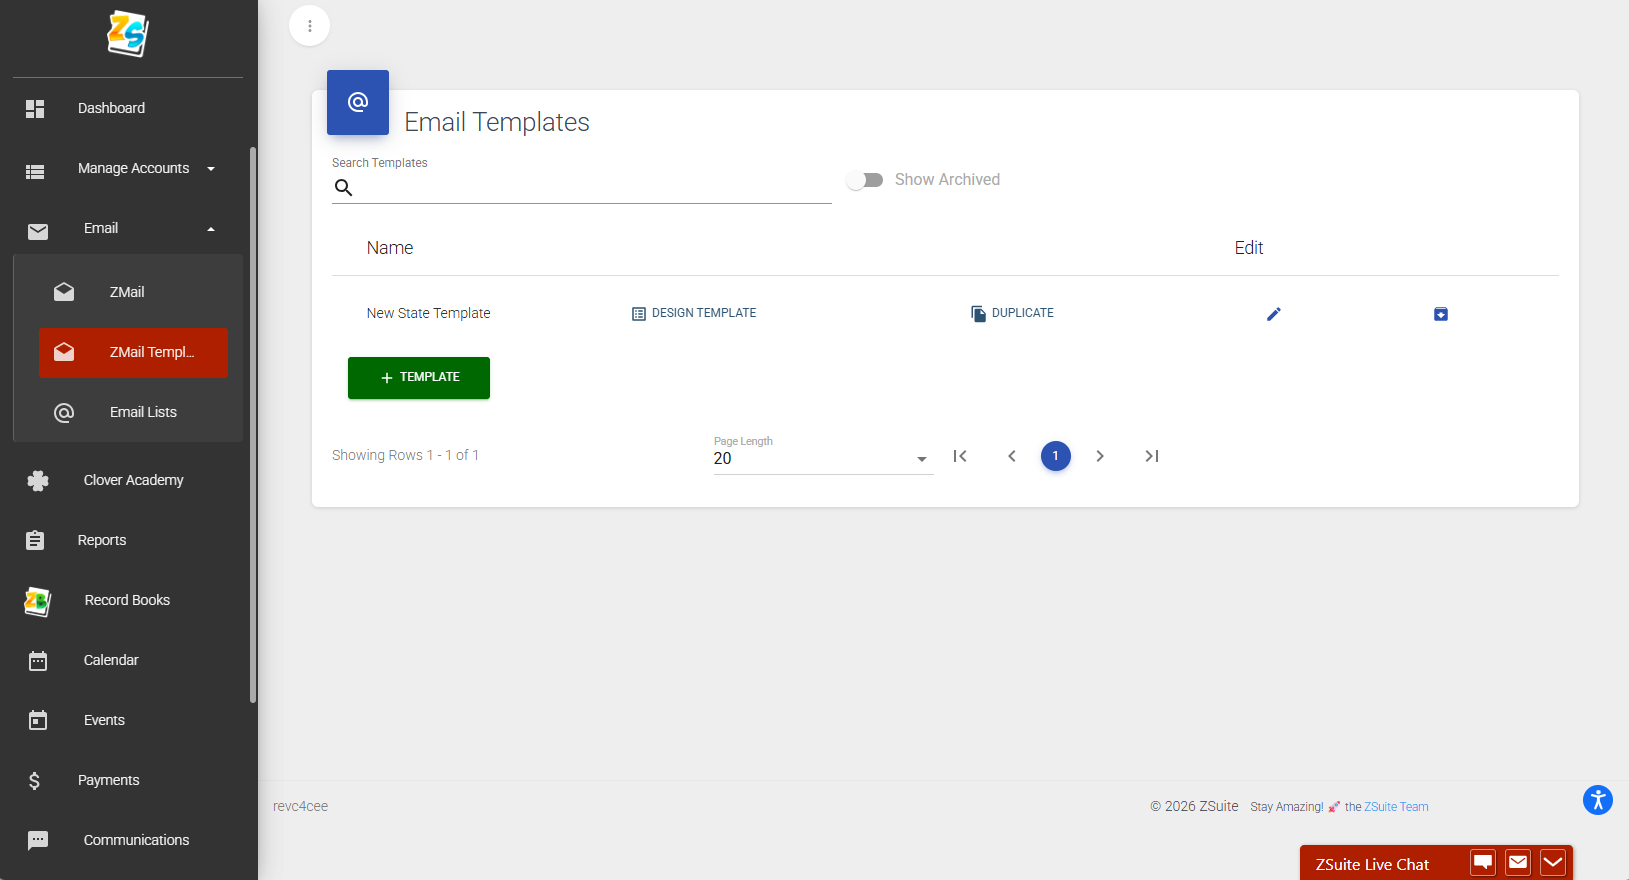
- Click on 'ZMail Template' button from the menu on the left
- Click '+ Template'
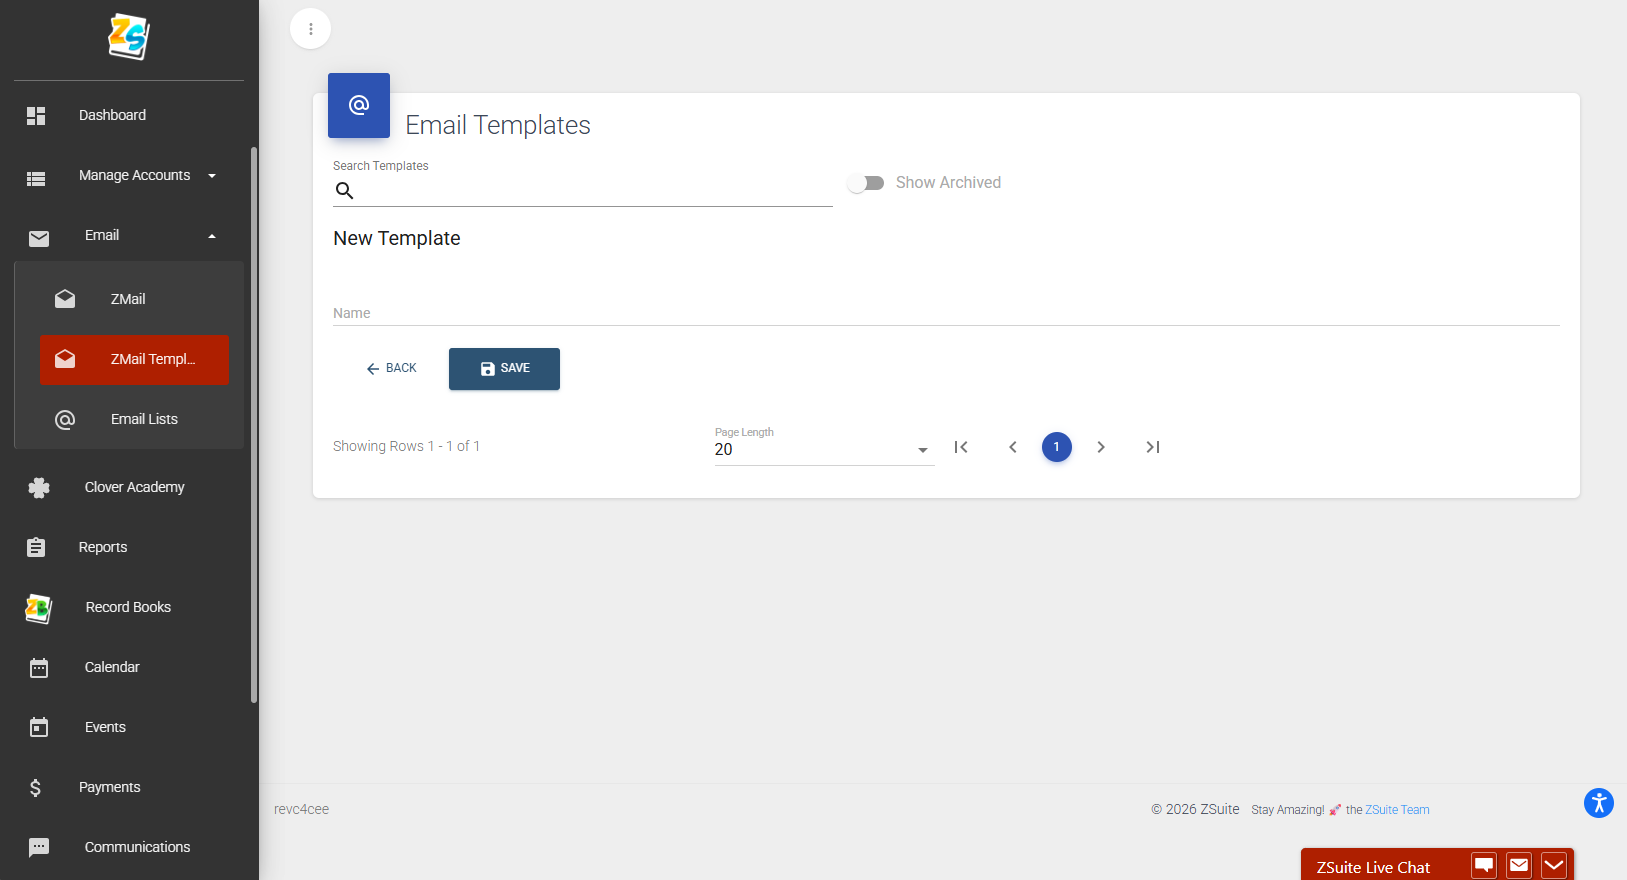
- Title your new template
- Click blue 'Save' button
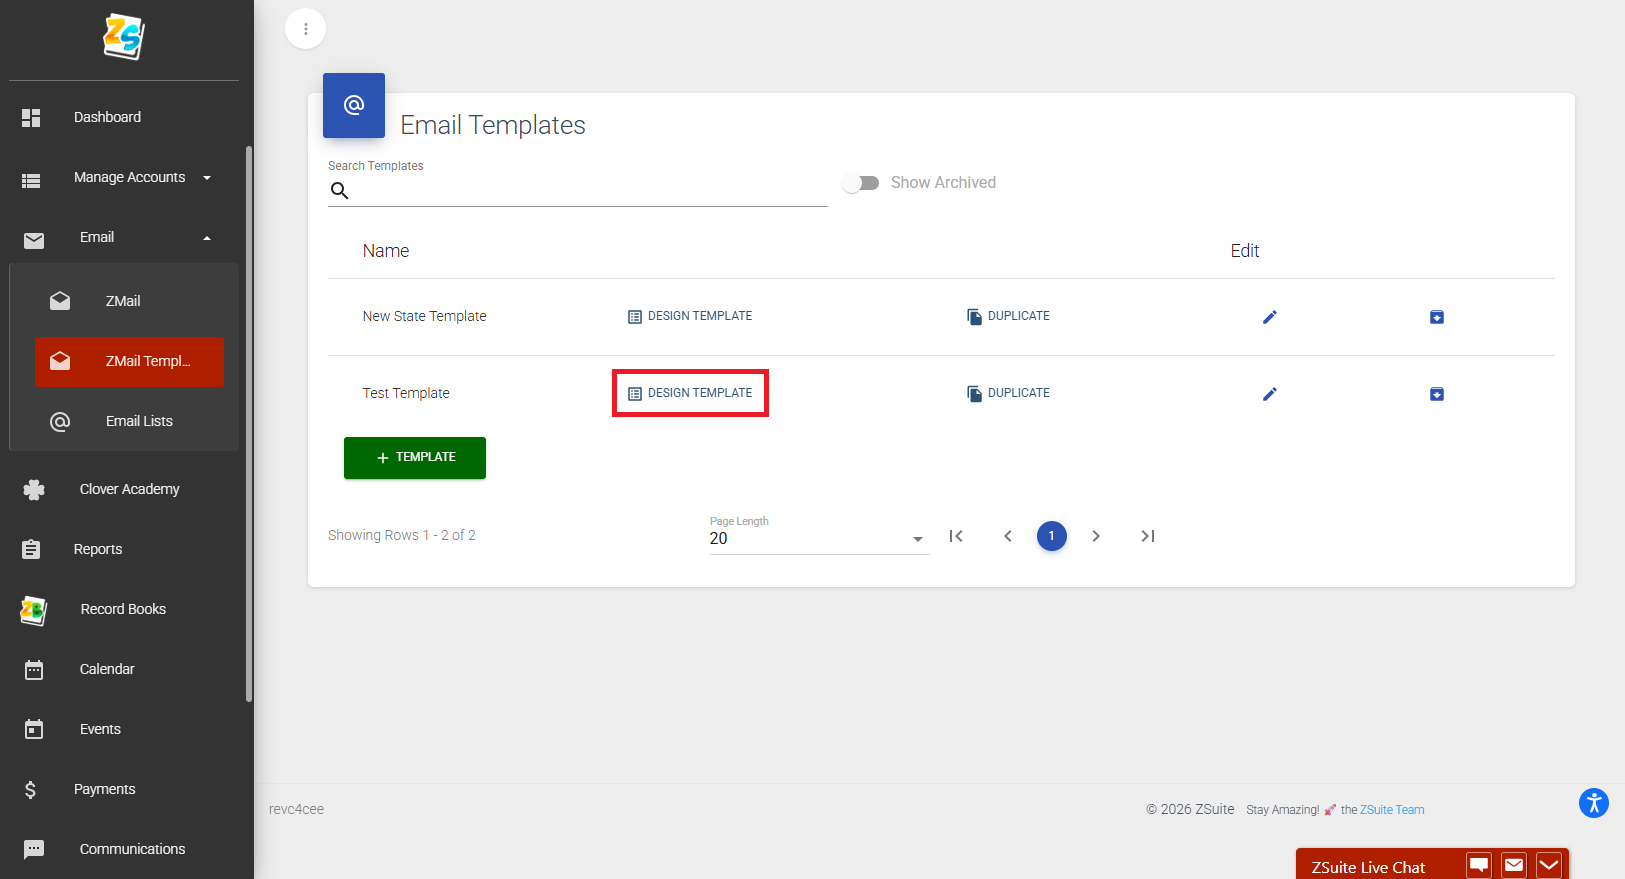
- Click the 'Design Template' button
- From here it is a matter of customizing your preferred items to make up the body of your email. You can edit text, add images and links, and much more. (See image for additional items!)
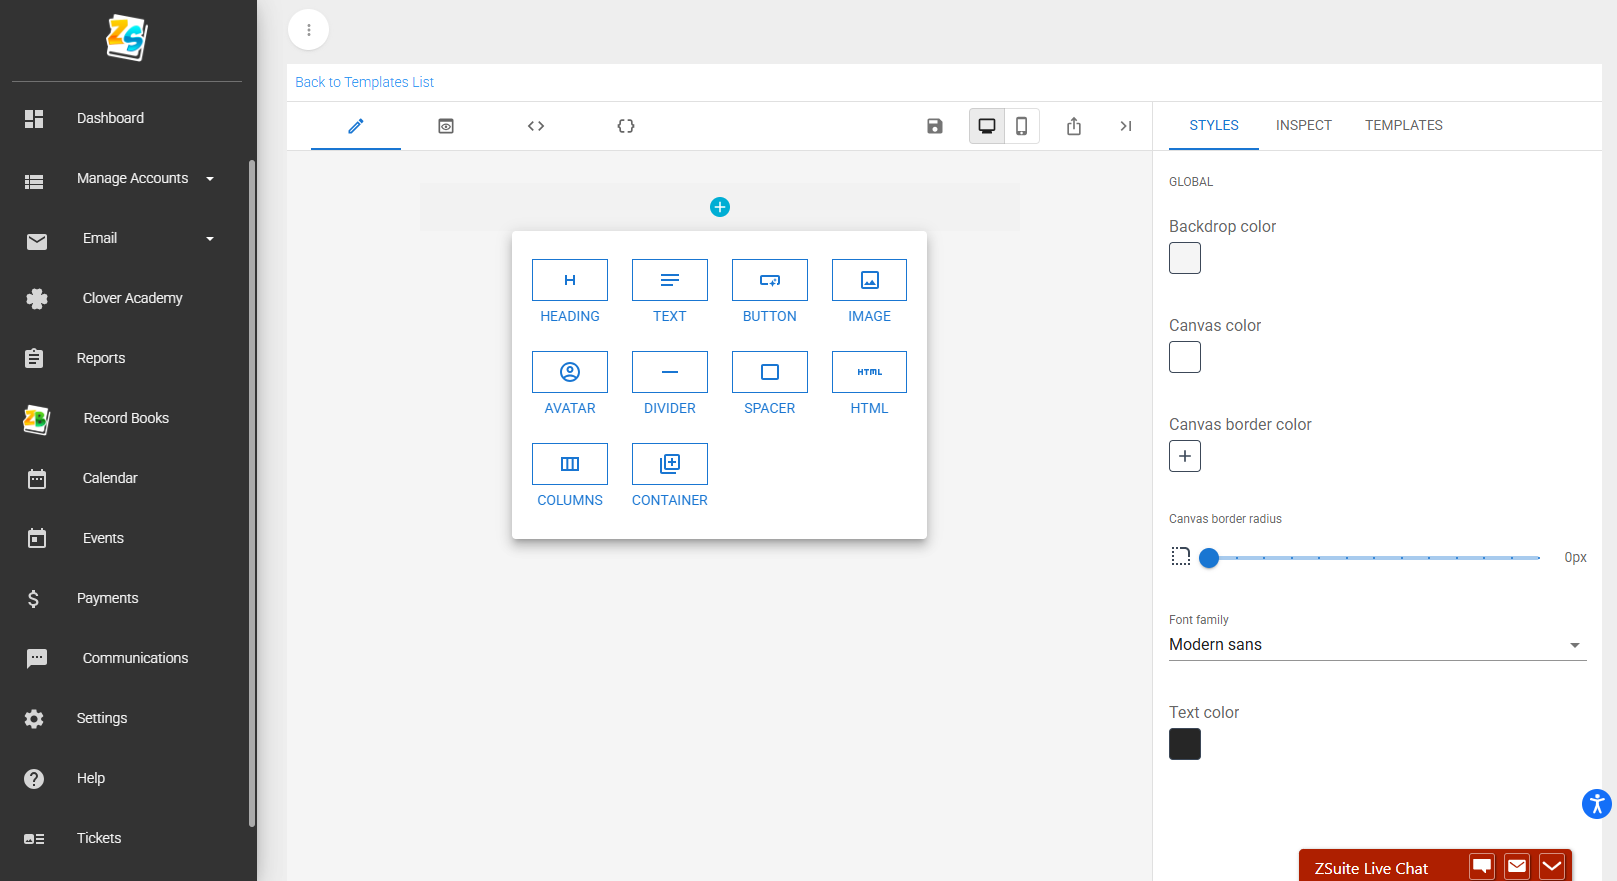
- All edits for each portion of the body can be made on the right side of the window.
- Here is a short example of how your template will look.
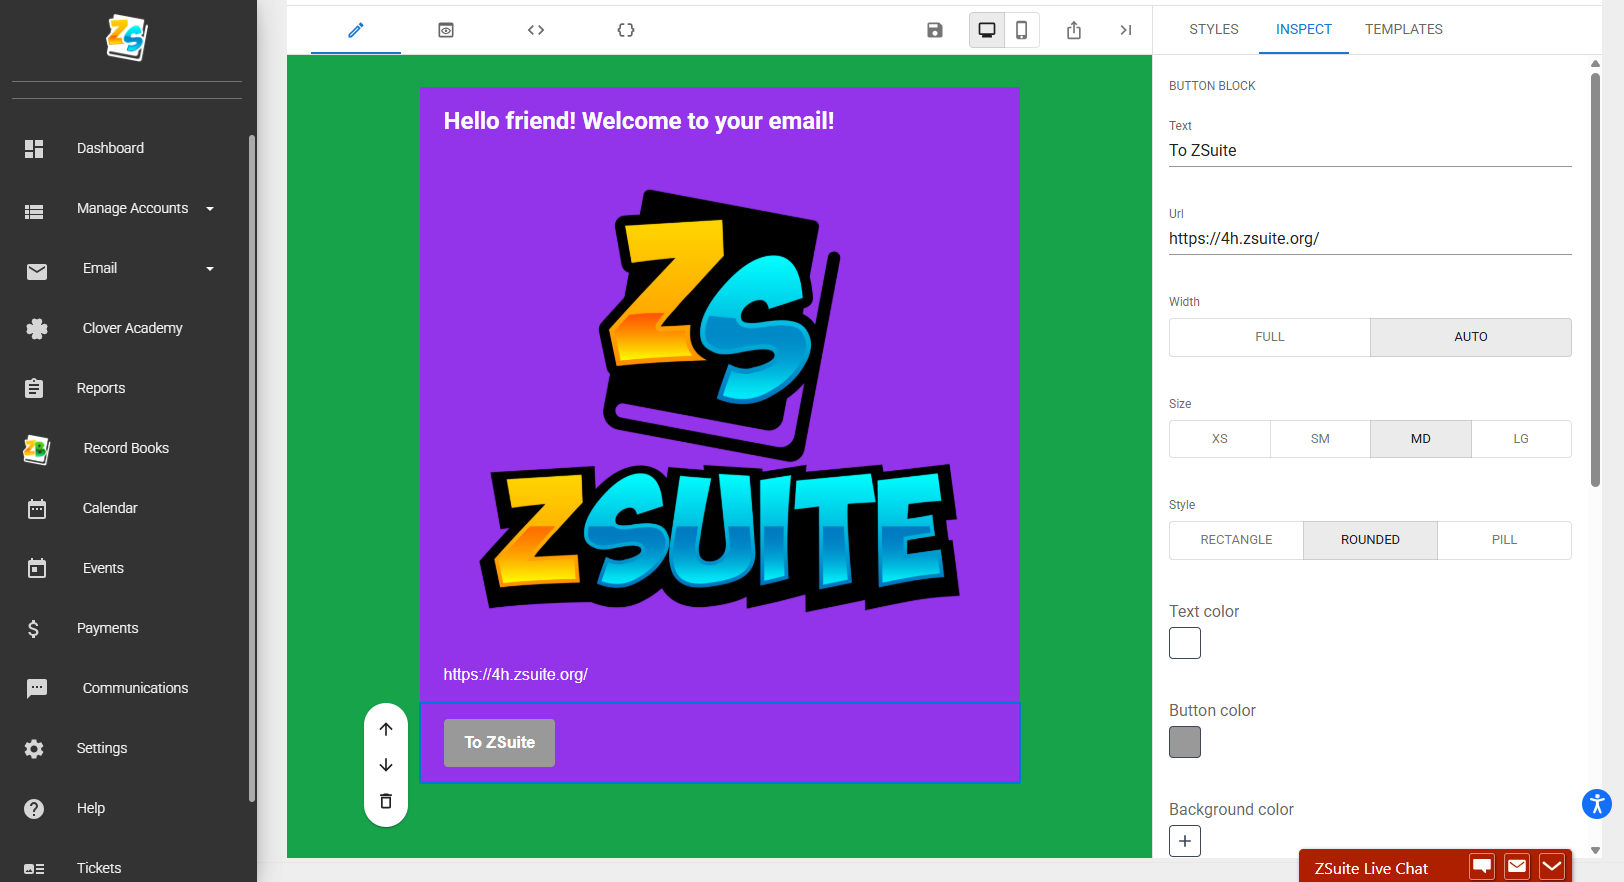
- There is a PC view and mobile view mode available.
- When you are finished making adjustments to your template click '💾' to save
Created with the Personal Edition of HelpNDoc: Achieve Professional Documentation Results with a Help Authoring Tool