Creating an Email List
Email lists are the first step to sending emails through ZSuite. Email lists identify your target audience for the email.
1. Login to your ZSuite admin account
2. Click on the Email icon from the menu on left
3. Click on Email lists

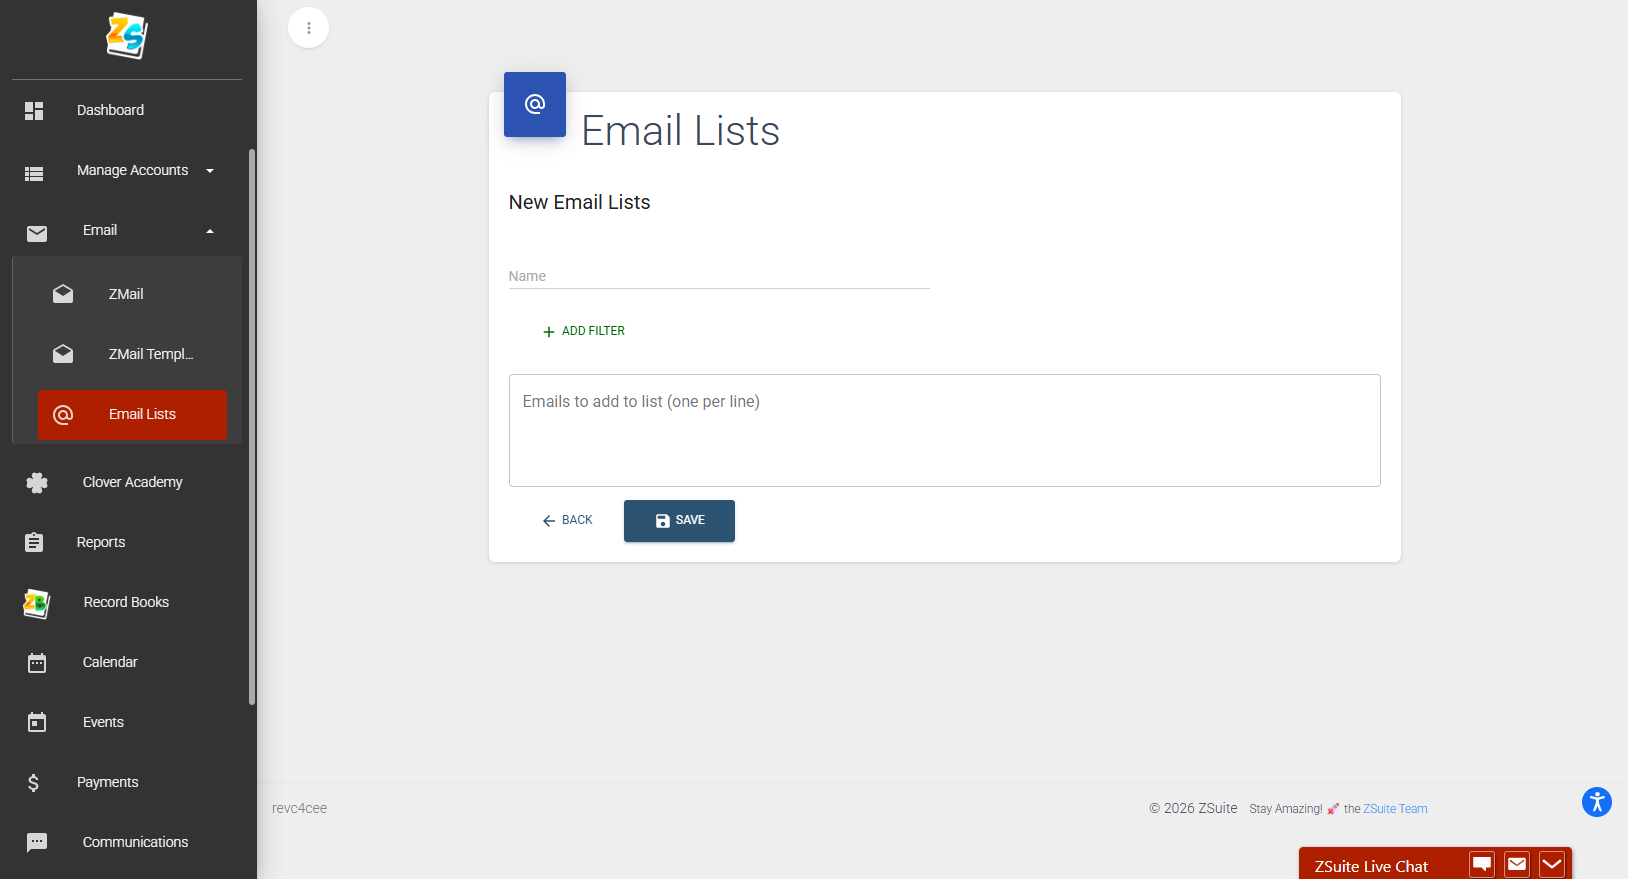
4. Click green '+EMAIL LISTS' button. A popup window will appear
5. Type in the name of your new email list
6. In this example, the email list is named 'Active Volunteer List' - emails will be targeted for Active Volunteers.
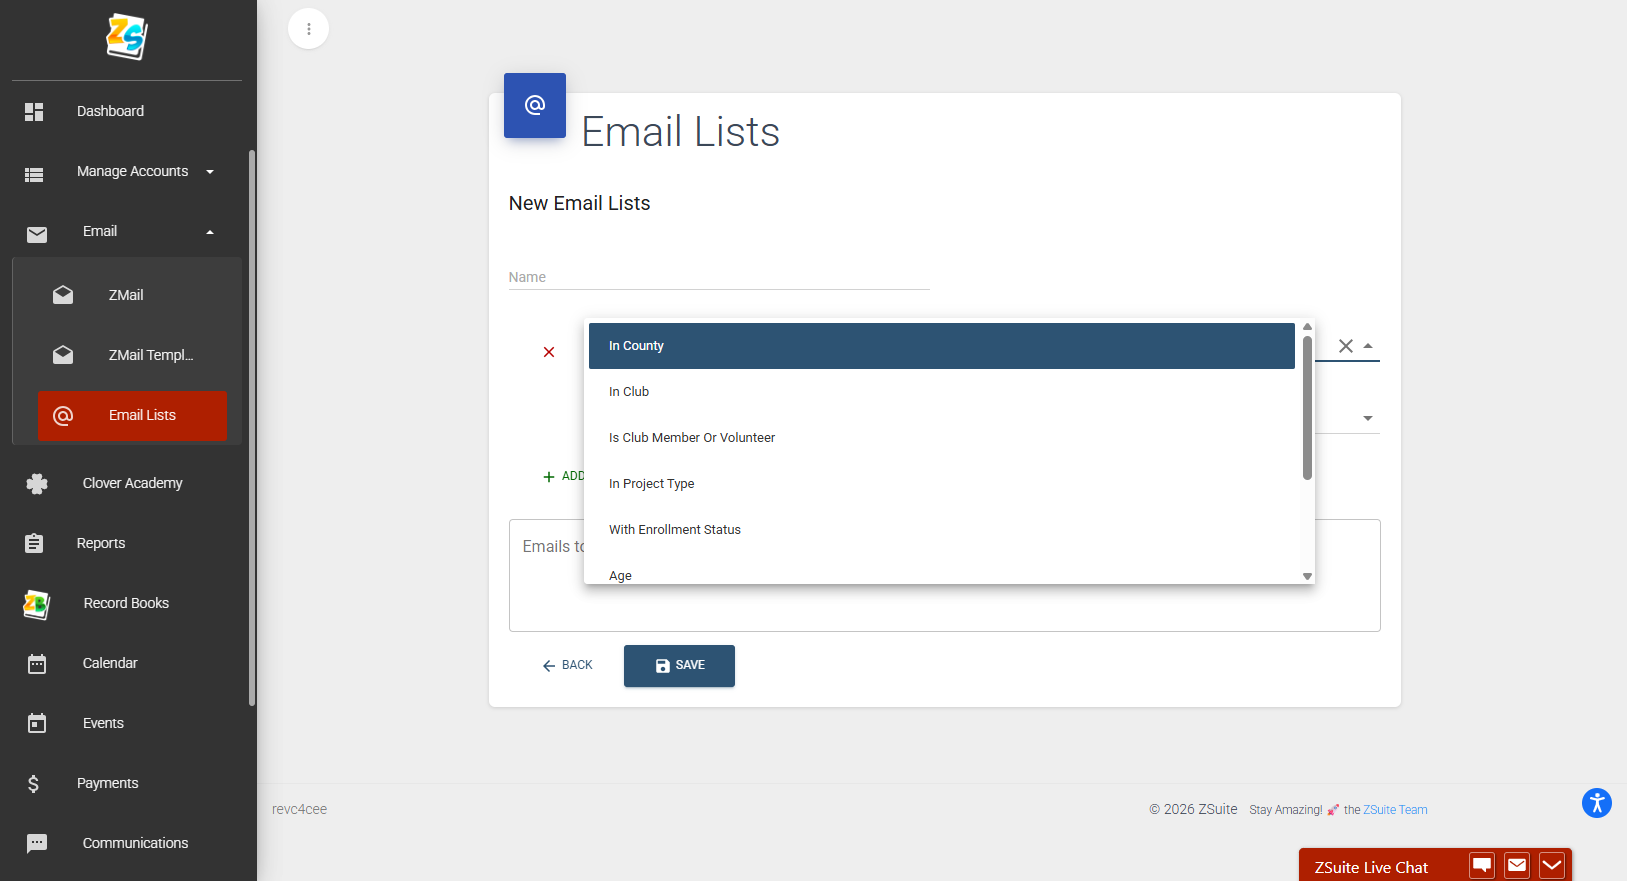
7. Click the green +Add Filter. You have the option to select one of the options:
- In County
- In Club
- Is Club Member or Volunteer
- In Project Type
- With Enrollment Status
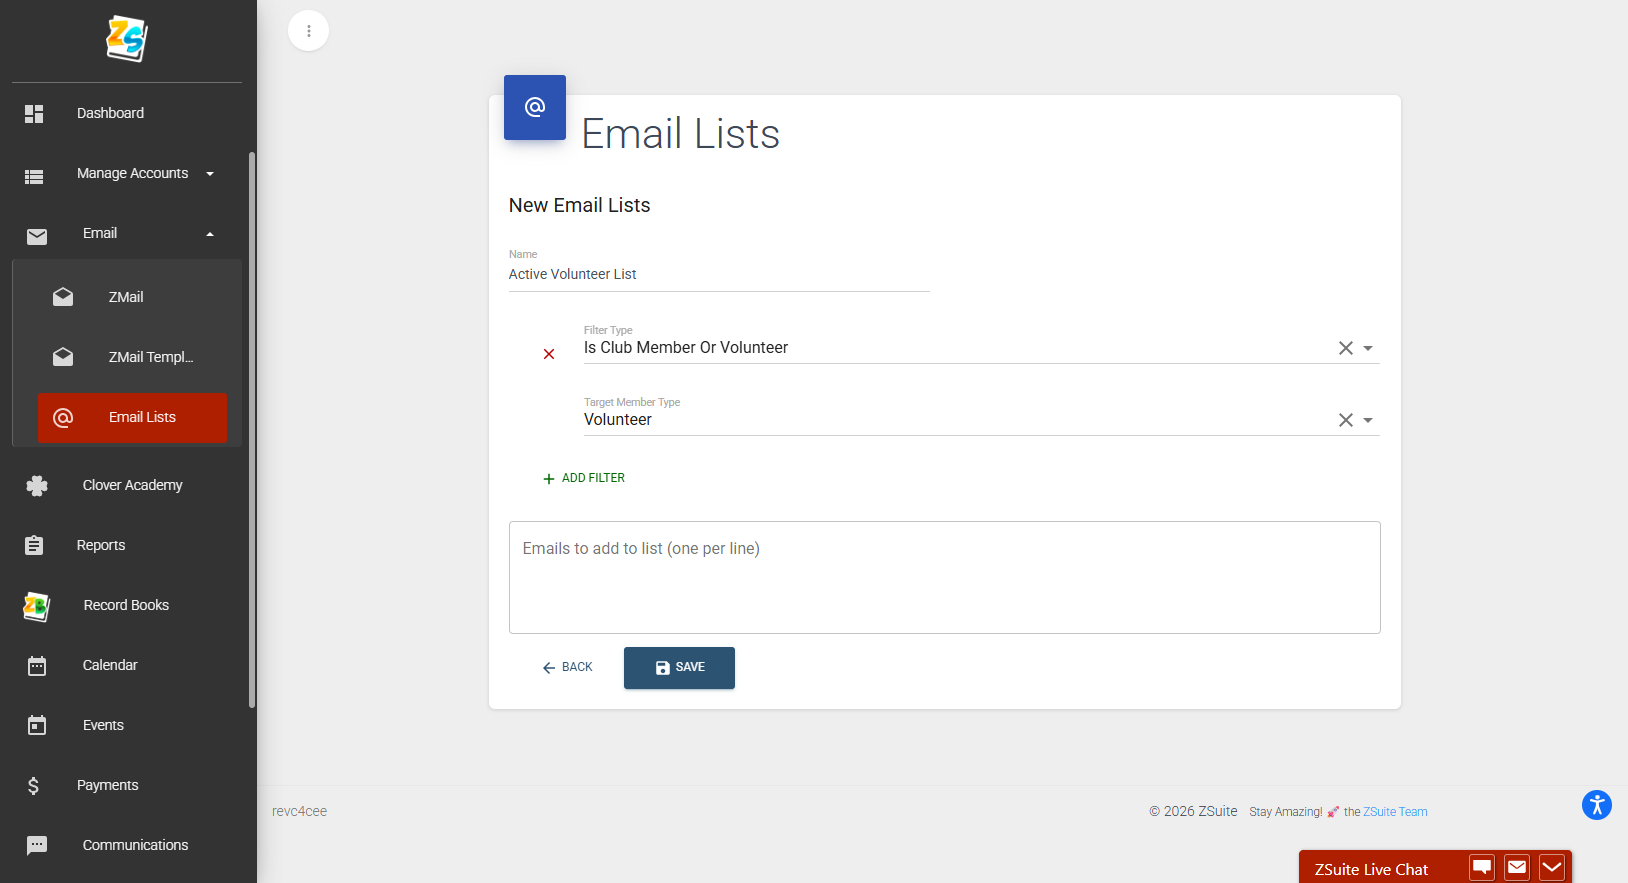
For the example, select 'Is Club Member' or 'Volunteer'
8. The next dropdown menu that will appear asks target type, with the option to select Club Member or Volunteer. For the example, select 'Volunteer'
9. Click blue 'Save' button
10. You will be returned to the Email lists screen. Click blue text 'SYNC LIST' button, now that the report has created syncing the list goes through the enrollment records. In this example, the system will populate the list with all active volunteer email addresses. You have to sync the list before viewing email addresses. If you were to skip the sync list it is likely no data would be returned.
11. Click blue text 'View Emails'
12. For the example, the following information was returned.
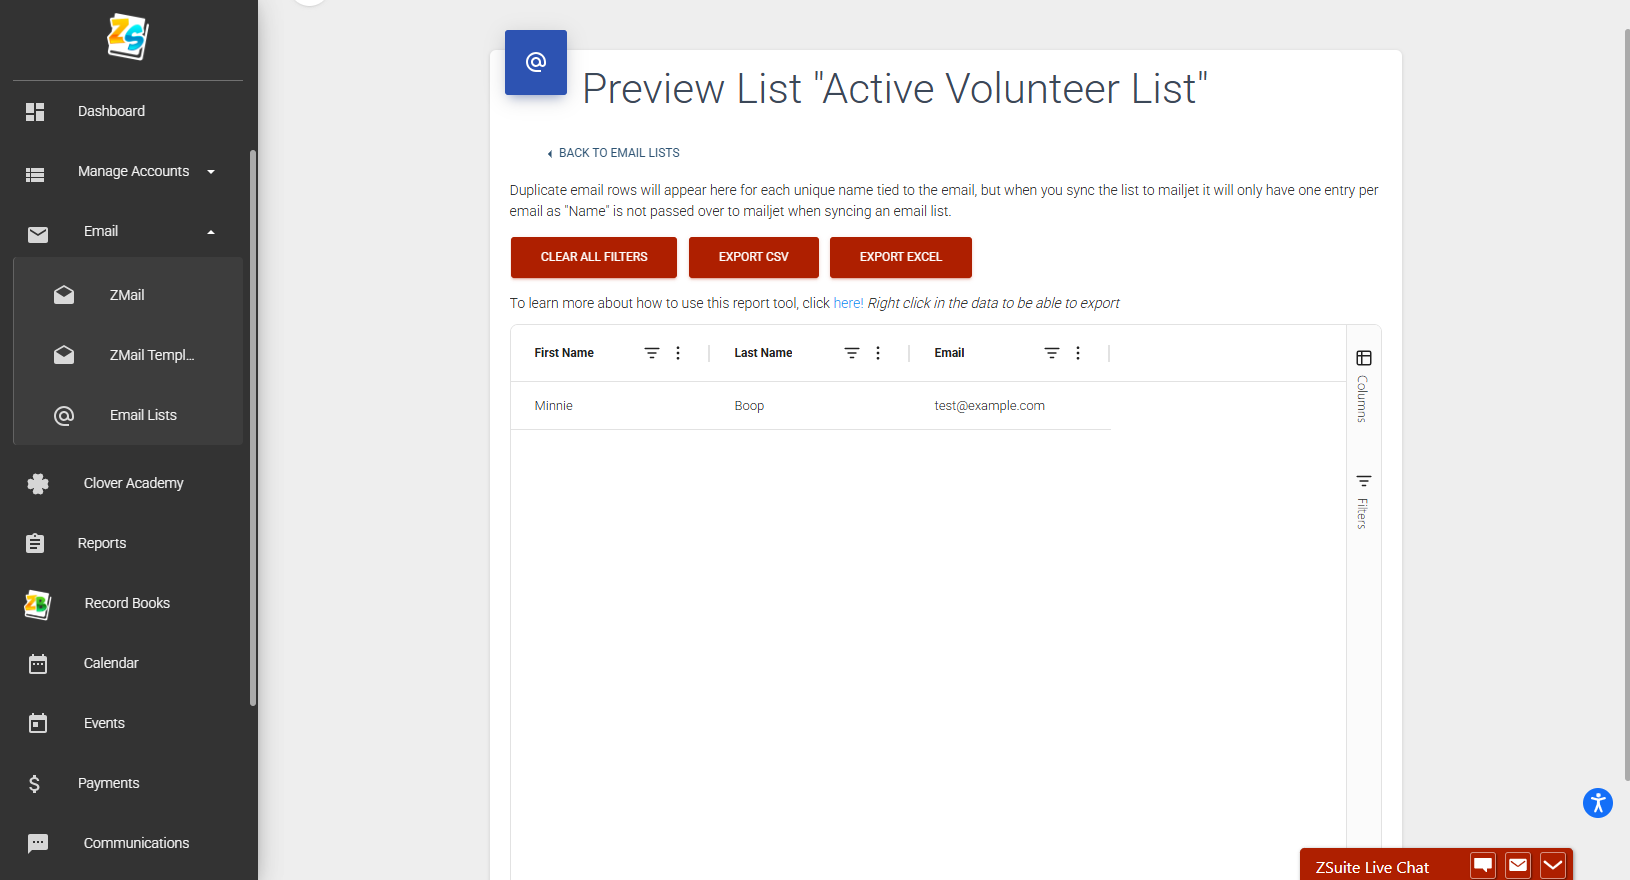
13. Your list is ready to be used for system emails.
Created with the Personal Edition of HelpNDoc: Benefits of a Help Authoring Tool