Send an Email
NOTE: Before you can send an email you must create an Email List to identify your target audience and it is strongly recommended to create a ZMail Template to ensure your communication is appropriately branded and includes the necessary information.
Best practices with Email content:
✗ Do not use ALL CAPITALIZED WORDS in your subject line or body.
✗ Avoid using spammy type words (‘Free’, ‘Sale’, ‘Cash’, ‘Limited Time Offer’, etc). Spam Words to Avoid
✓ Keep your subject line between 35 to 50 characters long. The longer your subject line, the more likely it will be flagged as spam.
✓ Send content that your subscribers have signed up for and are expecting. If you send non-relevant content, your subscribers may mark you as a spammer. And the more people that open your newsletters, the better your reputation
✓ Send your newsletters consistently.
To send an Email
1. Click on the Email icon on the left menu
2. Click on Zmail icon
3. From Campaigns list click green '+ Campaign' button
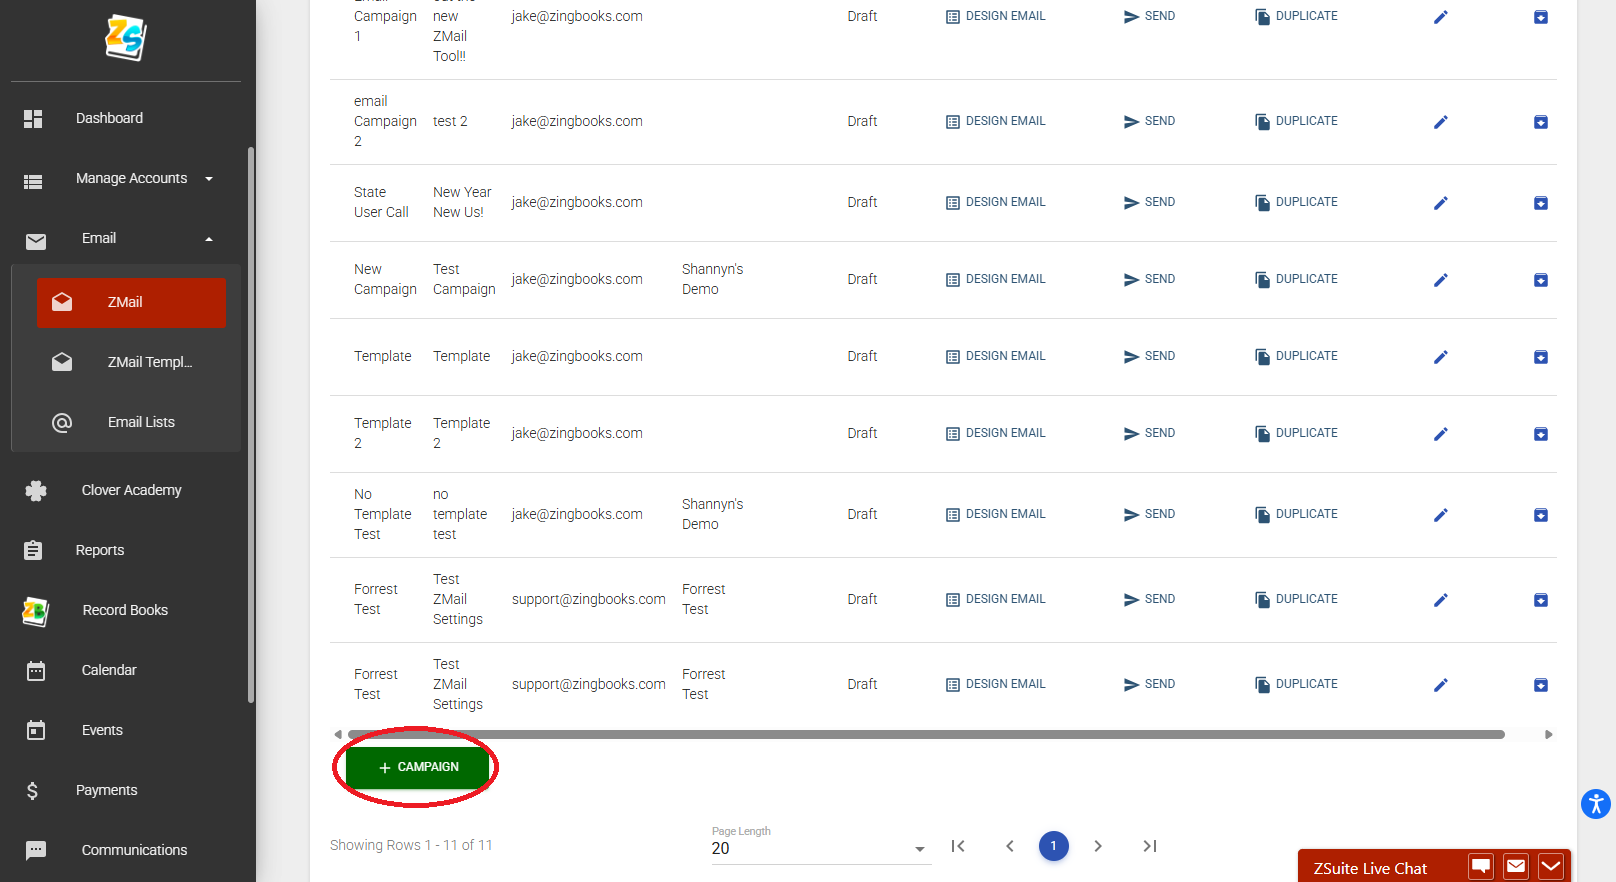
4. The Email Campaigns window will appear (see below)
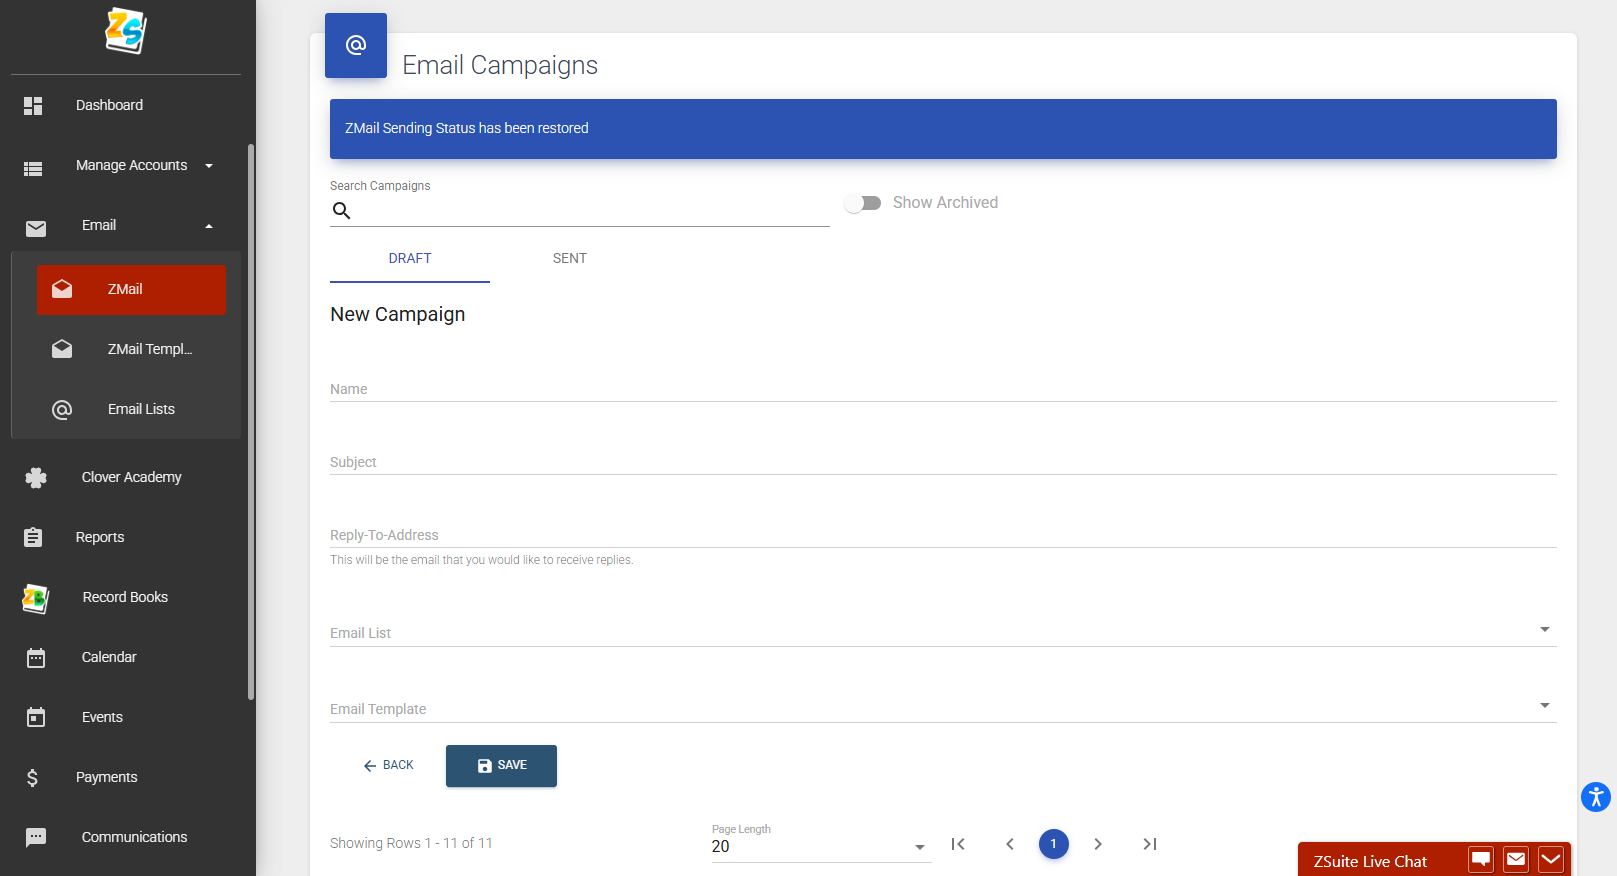
5. Enter in your Campaign (Email) details as follows:
- Name - Title your email (for best results include year in the title for sorting).
- Subject - Include a description of what your email is about. I.e. News from Forrest County 4-H - Volunteer Meeting Scheduled.
- Reply-To-Address - Enter your email address or the email that you would like to receive replies.
- Email list - From the drop-down, select your recipient list from the list that you generated.
- Email Template - Select your ZMail template. Creating your template before hand saves a lot of design time (branding, content, layout, etc.)
Once you have populated all the details you can click the blue 'Save' button.

6. Click the blue send now button and your email will be immediately sent.
7. The system will save, so if you are not ready to send your email just yet, that is fine! The draft of the email will stay in the list until you are ready to send.

Created with the Personal Edition of HelpNDoc: Streamline your documentation process with HelpNDoc's WinHelp HLP to CHM conversion feature